beef shoulder roast | shoulder roast
There’s something really rewarding about pulling a perfectly cooked shoulder roast out of the oven. Maybe it’s the rich smell that slowly spreads through the house, practically inviting everyone to come and have a taste. Or maybe it’s that moment around the dinner table when folks lean in to grab a slice of shoulder roast and start passing along stories along with the meat. In either case, the shoulder roast has a special talent for turning a weeknight—or a holiday—into a memory people talk about for years.
If you’re curious about how to make that experience yours, this guide is here to help. We’ll walk you step-by-step through selecting the right cut of beef shoulder roast, prepping and seasoning it, and cooking it so the meat practically shreds at the touch of a fork. Finish the read, and you’ll be ready to serve a dinner that smells incredible and tastes even better.
Table of Contents
Getting to Know the Cut: What Exactly Is a Shoulder Roast?
Before you can cook the beef shoulder roast, it’s good to know where it comes from and what makes it such a workhorse in the kitchen.
The shoulder roast, often simply called a chuck roast, comes from the shoulder area of the cow. Because this part of the animal gets plenty of exercise, the meat is a little tougher than prime cuts, but that’s actually a plus when you’re slow-cooking. Those extra connective tissues melt down into gelatin as the shoulder roast cooks, keeping the meat juicy and infusing the sauce or gravy with deep flavor.
The shoulder roast, sometimes found on labels as chuck roast or arm roast depending on where it was cut, comes from the upper front leg and shoulder region of the animal. Because that area is constantly in motion, the meat retains a generous amount of connective tissue and marbling. While those characteristics mean the shoulder roast needs low-and-slow cooking to soften, they also guarantee bold, beefy flavor every time it hits the plate.
So why should you bring home a beef shoulder roast instead of a flashier cut? Start with flavor: the fine veins of fat that run through the muscle melt as the beef shoulder roast cooks, turning an ordinary bite into something you remember. Next there’s the price tag—shoulder roast costs far less than ribeye or tenderloin, yet it delivers far more personality. From long braises in a Dutch oven to hours in a slow cooker or even a roast in the oven, the shoulder roast gladly adjusts to whatever method you happen to prefer. And of course it packs a nutritional punch, serving up plenty of protein, iron, and B vitamins to keep you going.
Choosing the Right Shoulder Roast at the Market
Picking out a shoulder roast that works for you is a step that can set the tone for the whole meal. Keep the following pointers in mind the next time you’re at the meat counter so you can feel confident in your selection.
What to Notice When You’re Looking
- Color: Look for meat that shines with a vivid red hue. If you see grey or brown patches creeping in, the roast is probably past its prime.
- Marbling: Study the surface for delicate ribbons of white fat running through the leaner muscle. More marbling usually means the finished dish will be tender and packed with flavor.
- Fat Cap: A light covering of fat along one side is a plus because it bastes the roast as it cooks. If the layer appears nearly half an inch thick or more, you might want to trim some away once you get it home.
- Size: Pick a size that matches your crowd. A cut weighing between three and five pounds nicely feeds four to six, giving you leftovers without drowning you in extra meat.
Stretching Your Dollar
- Scour the weekly flyer for specials, particularly around major holidays or long weekends; cuts are often marked down to make room for more popular steaks.
- If you find a deal you can’t resist, ask the butcher to slice a larger roast into meal-sized portions. Vacuum-sealing or wrapping them well in freezer paper later will keep freezer burn at bay.
- Finally, don’t be shy about chatting with the meat counter staff; many are happy to point out which batches came in fresh that morning and which offer the best value for your dollar.
Preparing and Cooking Your Shoulder Roast
Getting your roast ready for the table can be a satisfying bit of kitchen work. With the right steps, what starts out as a relatively tough piece of meat ends up tender and bursting with flavor. Here’s a simple plan to guide you from the moment you unpack it until it emerges from the oven or slow cooker.
First, do a little housekeeping before any cooking begins. Start by trimming the meat: cut away large slabs of external fat, but leave a thin cap in place. That small layer will baste the roast as it cooks and keep it from drying out. Next comes seasoning. At the very least you should sprinkle the entire surface with salt and freshly cracked pepper, but feel free to get creative. A blend of garlic powder, smoked paprika, dried thyme, and rosemary works wonders if you have them on hand. For even better results, plan ahead and allow the seasonings to sit for a few hours or overnight in the fridge. If you have more time, a marinade adds another layer of depth. Whisk together olive oil, a splash of vinegar or lemon juice, chopped garlic, and whatever herbs you prefer, then let the meat soak in the mixture for several hours, turning it occasionally.
When it’s finally time to cook, you’ve got a few methods to choose from, each with its own charm:
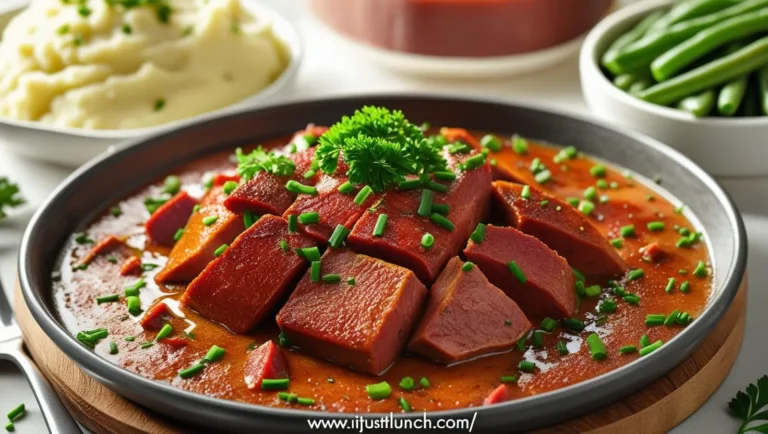
Slow Cooking / Braising
Place the roast in a heavy pot with some broth, wine, or even just water, cover it tightly, and let it simmer away on the stove or in the oven set to around 300°F (150°C) for three to four hours.
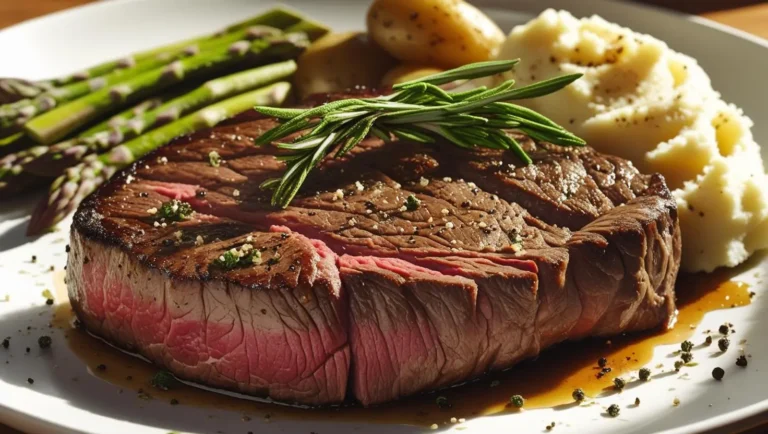
Oven Roasting
Preheat the oven to 225° to 250°F (110° to 120°C), place the meat on a rack in a roasting pan, and cook it uncovered for the first hour. After that, loosely cover it with foil and let it finish cooking until done.
Pressure Cooking
A pressure cooker locks in moisture and speeds things up while delivering concentrated flavor every time.


Shoulder Roast Recipes to Try Today
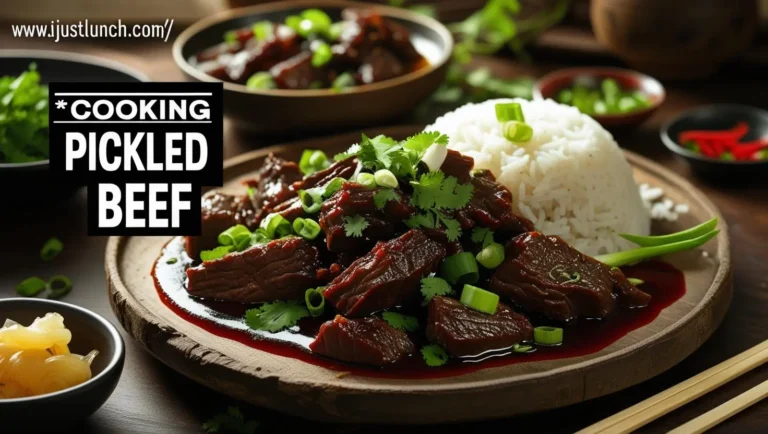
Classic Slow-Cooked
- 3–4 pounds roast
- 2 tablespoons olive oil
- 1 large onion, sliced
- 3 medium carrots, chopped
- 4 garlic cloves
- 2 cups beef broth
- 2 tablespoons tomato paste
- 2 sprigs fresh rosemary
- Salt and pepper
Instructions:
- Preheat oven to 325°F (160°C).
- Brown meat in oil.
- Sauté vegetables, add tomato paste and rosemary.
- Return meat to pot, add broth, and cover.
- Braise for 3–4 hours.
Spicy Herb-Crusted
- 3 pounds roast
- 1 tablespoon chili powder
- 1 tablespoon paprika
- 1 teaspoon ground cumin
- 1 teaspoon garlic powder
- 2 tablespoons olive oil
- Salt and pepper
Instructions:
- Mix spices and oil into a rub.
- Pat roast dry, apply rub.
- Roast at 350°F (175°C) for 2.5–3 hours.
- Let rest before slicing.
With Vegetables
- 3–4 pounds roast
- 4 medium potatoes, quartered
- 3 medium carrots, chopped
- 2 large onions, quartered
- 3 tablespoons olive oil
- 2 sprigs fresh thyme
- Salt and pepper
Instructions:
- Preheat oven to 325°F (160°C).
- Toss vegetables in oil and seasoning.
- Add roast and cover.
- Roast for 3 hours.
Serving and Storing
Serving Tips:
- Slice against the grain.
- Pair with vegetables or salad.
- Use leftovers in sandwiches or tacos.
Storage:
- Store in airtight containers.
- Refrigerate within 2 hours, eat within 4 days.
- Freeze for up to 3 months.
- Reheat with broth.
FAQs
Best method to cook? Braising or slow-cooking.
How long? 2.5 to 4 hours.
Tender? Yes, with proper cooking.
Grill? Use indirect heat.
When is it done? Fork-tender, 190–205°F.
Conclusion
With care, this cut becomes a delicious centerpiece. Its deep flavor, flexibility, and value make it a great comfort food choice.
Ready to try it? Grab your beef shoulder roast, prep your spices, and get cooking!